|
|
-
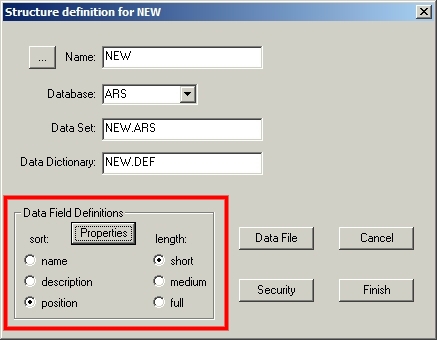
Below is an explanation of the options available for sorting and displaying the field definition information.
Table 16-3 Sort Options for Viewing Field Definitions Sort By: Description: Name: Sorts by the field names Description: Sorts by the descriptions that have been entered for the fields Position: Sorts the fields in record layout by their starting position in the record Table 16-4 Display Options for Viewing Field Definitions Length: Description: Short: Displays field name, description, first position, length, data type Medium: Displays field name, description, first position, length, occurances, last position, data type, print mask, semantics Full: Displays field name, description, first position, length, occurances, last position, data type, print mask, semantics, prompt, heading, help, screen mask, validations To view the report, click on the [Properties] button. This will open the Field window containing the report information. The example below shows the report displaying the field definitions sorted by position with "Medium" selected for the amount of information to include.
| Example 16-20 View & Print Field Definitions |
|---|
|
|

- Click on the [View/Print] button in the Fields window to open the field information report in Notepad where you can then perform normal Notepad functions, such as printing the report.
16.4 Structure Security
-
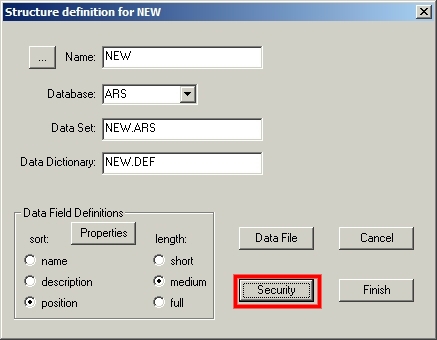
Table security controls access levels for read, write, update and delete activities.
Enter SETUP, select the table to modify and click on [Security]. See Section 16.1.1, Entering SETUP on how to enter SETUP.
| Example 16-21 Structure (Table) Security |
|---|
|
|
-
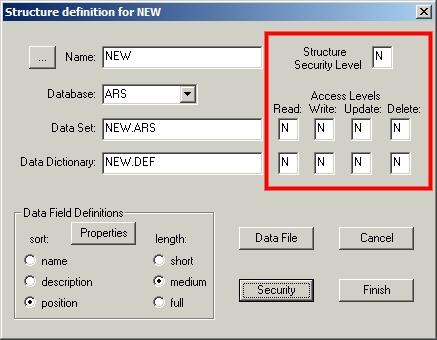
The Structure Definition window will update to display the security level and access levels to modify:
| Example 16-22 Structure Security |
|---|
|
|
-
The security level is a single letter in the range of A to Z. Security level A is the highest level of security. Security level Z is the lowest level of security.
The default value for the security and access levels is 'N', normal. You may optionally assign a different security level to the structure and then for both the definition and the dataset you can assign various security levels for read, write, update and delete access.
Read/ Write/ Update/ Delete Access Levels
The access level is a single letter in the range A to Z. A is the most restricted access level. Z is the least restricted. When an attempt is made to read, write, update or delete a record from this table, Sheerpower will compare the table security level to the corresponding access level. If the access level is lower than the table security level, the request will not be allowed. Below is an example of security level settings:
Example 16-23 Table Security Levels
       Structure           Read Access
     Security Level          Level             Access
            K                  R               Allowed because R is > K
            K                  E               Denied because E is < K
            K                  K               Allowed because K = K
Click on the [Security] button again to remove the security settings from the window.
16.5 Creating the Data File
-
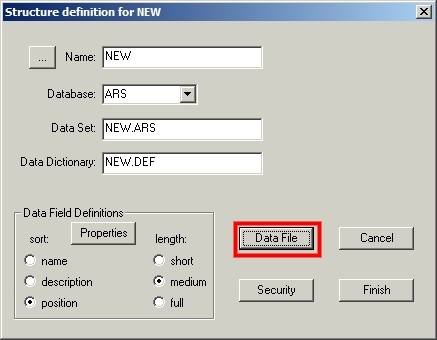
After you have finished defining the record layout and security settings, you will need to create the data file and define it's characteristics.
Enter SETUP, select the table and click on [Data File]. See Section 16.1.1, Entering SETUP.
Example 16-24 Creating the Data File
-
The Create Data File window will open:
Example 16-25 Creating the Data File
-
The actual record size you have defined will be displayed. Sheerpower will automatically extend the record size for future use. The default record size is 25% larger than the actual length of the fields defined. You may accept the defaulted record size or modify it for additional characters. It is recommended that some additional character positions be set in the record size of new file definitions to allow for additional fields if they become necessary. This allows room for adding new fields to the record without having to expand the record size.
16.5.2 Preallocated Records
-
Sheerpower will default a value for the number of records preallocated for the file creation. This is not a limit to the number of records but for size of initial file creation. You may accept the defaulted value or modify as needed.
16.5.3 Organization
-
Select how you want your file to be organized. The options are:
INDEXED    - the data file record contains one or more key fields
SEQUENTIAL - the data file record contains no key fields
If you are going to be sorting and/or extracting data from the ARS file you are creating, the indexed file organization is more efficient than the sequential organization. This is especially true if you have large files.
An indexed file contains one or more indexed key fields which allow programs to locate and access file data very quickly without having to read through the file to locate records.
A sequential file has no key fields and accessing file data can be very slow and time consuming. Locating data in a sequential file requires reading every record in the file to find all occurrences of the data.
If you select Indexed file organization, you will need to enter the key field information.
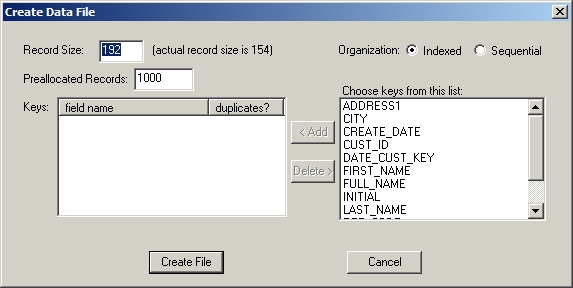
16.5.4 Key Field Information
-
The list of fields defined is shown on the right side of the window. Click on the field that should be a key field and then click [Add].
You will be asked if duplicates should be allowed or not. If the data to be stored in the key field will be unique (only one occurrence of the data in the key field) then duplicates should not be allowed. If the data could occur many times (ie: a salesrep code) then allow duplicates (multiple occurrences of the data in the key field).
Data access works most efficiently with unique key fields.
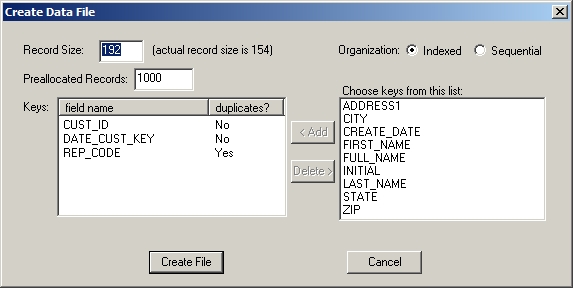
If you want more than one key field, select the fields you want to use as key fields.
All key fields selected will be shown on the left side of the window.
In the following example three (3) keys have been selected:
  CUST_ID              no duplicates
  DATE_CUST_KEY        no duplicates
  REP_CODE             duplicates
Example 16-26 Key Field Information
-
If you need to delete one of the fields selected as a key field, click on the field to highlight it, then click on [Delete].
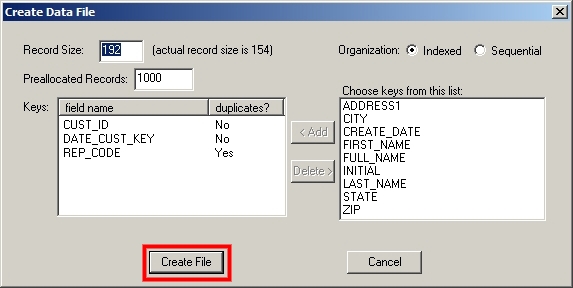
16.5.5 Create Data File
-
After you have defined all fields and the file organization click on [Create File].
Example 16-27 Create Data File
-
When the data file has been created, a notification window will appear.
Example 16-28 Create Data File Notification
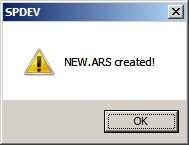
-
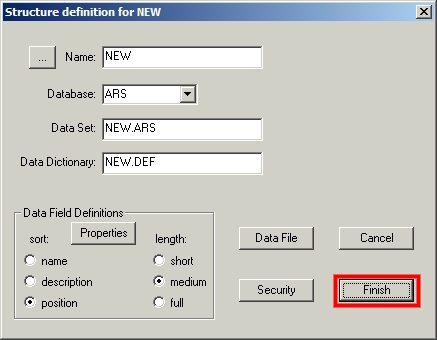
Click on [OK]. The Create Data File window will close and bring you back to the Field Definition window. Clicking on [FINISH] will create the table file if it is new. If you modified an existing table, clicking on [FINISH] will save your modifications.
Example 16-29 Finish Creating the Data File
Previous Next Contents Index -