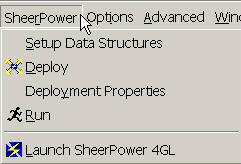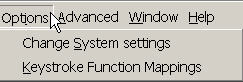
Expansions can be used to speed up programming in
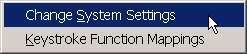
SheerPower. To create an expansion, click on Options
in the SPDEV toolbar, then choose Change System
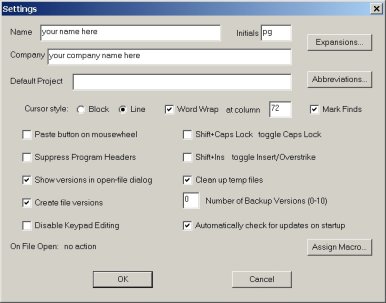
Settings. The Settings dialog box will
appear. Click on the Expansions... button.
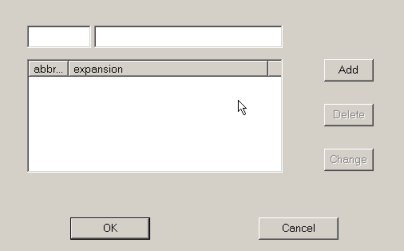
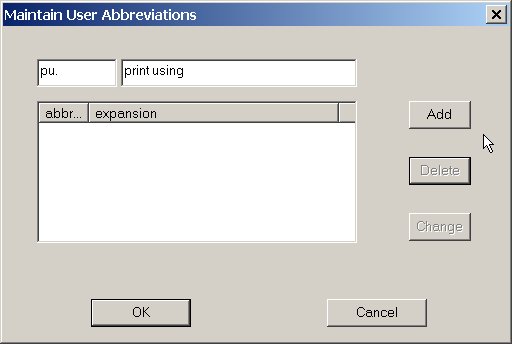
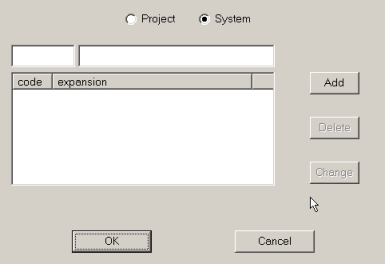
Inside the Maintain User Expansions dialog box in the
top empty fields you can type in the expansion code and what it
'expands' to. For example:
rc routine check_incoming_email
|
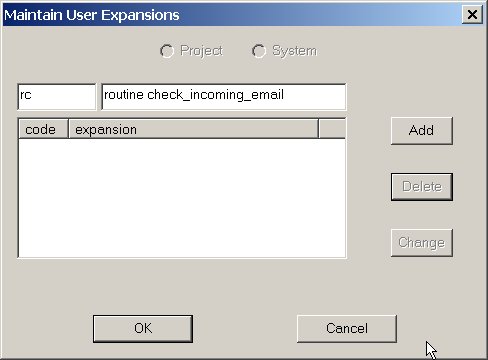
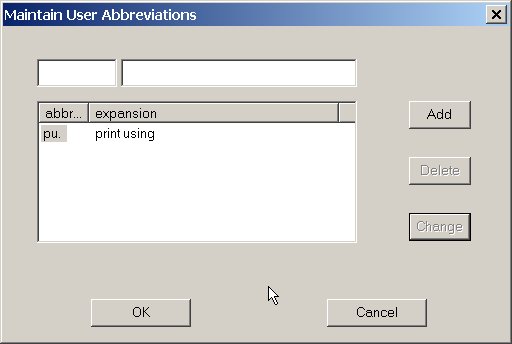
Then click on the [Add] button.
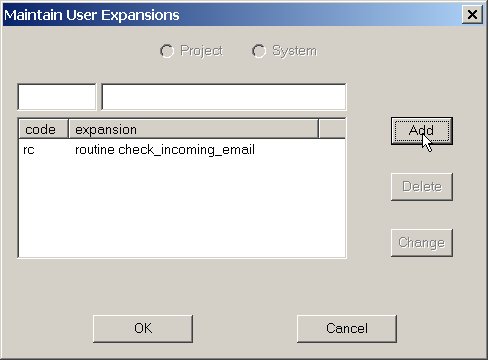
Once the expansion is added in you can Delete or
Change it by clicking on either the
[Delete] button or the [Change] button.
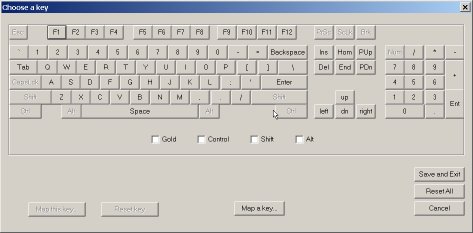
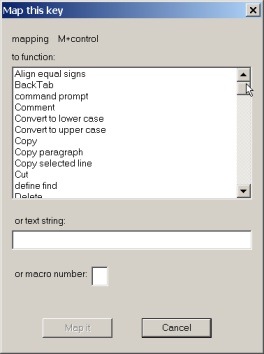
To use the expansion inside any type of file in SPDEV, simply type in
the expansion code, then press the [F9] key on your keyboard.
rc --> press F9 --> routine check_incoming_email
|
You can insert "\n" inside the expansion if you define the entire
expansion as a literal string. For example, to insert:
The expansion would be:
To insert new line codes outside of literals, use the token
newline$. For example, to insert:
The expansion string would be:
"print '1'" + newline$ + "print '2'"
|
Similarly, tab$ inserts tabs.